 Freelancer tips
 VPN: What It Is, How It Works, and What It’s For
A VPN encrypts your data to strengthen your privacy on the internet. Discover how it works, what it’s for, and why you should use one.


When working independently, you must handle everything—from organizing ideas to delivering projects. Ideally, you want to do it without wasting time, but it’s a challenge.
In this context, Miro can be an ally, as it lets you plan, create, and collaborate remotely, minimizing your efforts.
But is Miro really worth using? Find out by learning its main features, pros, and cons.
It’s a program designed to facilitate team collaboration and remote work. Its main goal is to help you organize ideas and plan projects from anywhere.
The software allows freelancers and creative teams to share, build, and make decisions together online. Of course, you can use it solo, but its real potential shows when used with others in collaborative environments.
It works as a digital visual workspace where you can create anything. From adding sticky notes, images, and documents to drawing flowcharts. Everything is drag-and-drop and can be edited easily and scaled as needed.
Also, your work is stored in the cloud and accessible from any device.
What is Miro used for?
The platform is quite versatile and can be used for multiple tasks, including:
Strategic planning
Brainstorming sessions
Virtual meetings
Interactive workshops
Data visualization
It also integrates features like video calls, comments, and real-time sharing. This way, it facilitates idea exchange and teamwork.
A Miro board is where the magic happens—it’s like a digital canvas. These are spaces designed to organize and connect ideas in a structured way with total freedom, depending on the project you’re working on.
So, what can I use Miro for?
You can use it to add all kinds of elements and create visual schemes. Here are some examples:
Develop schedules
Add sticky notes
Create text boxes
Insert links
Make wireframes
Add images
Make synoptic charts
Upload documents, icons, and much more
Besides creating your own design from scratch, you can use the platform’s pre-made templates to save time. The interface allows you to adapt the board to the type of project you’re working on. That’s why the tool is very useful to organize ideas, validate processes, or build prototypes.
After understanding what Miro is and what it’s for, it’s time to evaluate the features that best suit you as a freelancer—those capable of improving your workflow and collaboration.
Here are some Miro features you shouldn’t overlook:
Integrated agenda and timer. Ideal for setting meeting topics and assigning a time to each. This helps maintain focus and prevents sessions from running too long
Easy-to-edit visual charts. Charts are useful for presenting data without using another tool, and Miro lets you insert and customize them easily—especially simple ones like bar or pie charts
Presentation recording. You can record a walkthrough of your board while explaining your proposal or project. A perfect feature for sending presentations to clients or collaborators who can’t join live
Integration with other platforms. Miro connects with several essential remote work tools to streamline your daily workflow. No need to constantly switch apps.
These integrations include Google Drive, Slack, and many more.
Miro stands out as a visual, practical, and intuitive platform. Still, it’s important to understand both its strengths and weaknesses.
The software is available in various formats.
You can download the app for Windows and Mac.
Or get the version for Microsoft Surface Hub.
This allows you to work from anywhere with consistent performance.
If you work with a team or need to include clients, you can invite them to collaborate on the same board simultaneously.
All changes appear instantly, and participants can leave comments, chat, or join video calls without leaving the tool.
Miro meets enterprise-level security standards, ensuring a secure environment—especially important when handling confidential data or working with clients who require data protection.
The interface is available in 8 languages, including Spanish. While some texts may not be fully translated, it’s functional and easy to use.
Miro offers a wide range of ready-to-use templates—from mind maps to strategic models like the Business Model Canvas. This saves time and avoids building everything from scratch.
You can assign tags to collaborators, track who created each item, and maintain visual control over the board’s activity.
While you can start using Miro for free, it only allows up to three active boards. This could be an issue if you manage multiple clients or projects.
Additionally, key features—like the timer, voting, or video calls—are only available in paid plans.
Since Miro is cloud-based, a stable connection is essential. Any network issues may disrupt your experience, especially during live sessions or presentations.
You can navigate boards by dragging, zooming in/out, and dropping elements using a mouse or touchpad.
However, organizing large boards with many elements can get chaotic if not structured well. As a new user, you may feel overwhelmed by the number of available tools.
Register on Miro using one of the available options.
The free plan is enough to explore its features if you work solo. Later, you can switch to a paid plan for larger collaborative projects.
Once inside, create a new dashboard from the main panel:
Click on “New dashboard” and rename it to better organize yourself.
If you are going to work with clients or colleagues, you can share it using the “Share” button.
Use the left-side toolbar to drag in shapes, text, lines, and drawings. Everything can be moved, edited, and linked.
Click the “+” button at the bottom to access more tools.
Miro offers over 300 templates you can customize. Just choose one and adapt it to your project.
Insert images, links, Google Docs, YouTube videos, and more. Just paste the URL or drag the file into the board.
You’ll have everything in one place—no need to switch tools.
Once finished, invite others to view or edit. You can also share it via link, embed it on a website, or export as an image or PDF.
Although Miro is appealing, you should consider the plans and pricing to find what suits your freelance projects and budget best.
Plan | Price | Editable Boards | Editable Templates | Guests with Editing Access | Team Members |
Free | Free | Up to 3 | No | No | Unlimited |
Starter | $8/month per user | Unlimited | Yes | No | Unlimited |
Business | $16/month per user | Unlimited | Yes | Yes | Unlimited |
Enterprise | Custom pricing | Unlimited | Yes | Yes | Unlimited |
Visit their website to see all the features.
Note: Prices are for annual billing; monthly billing is slightly higher.
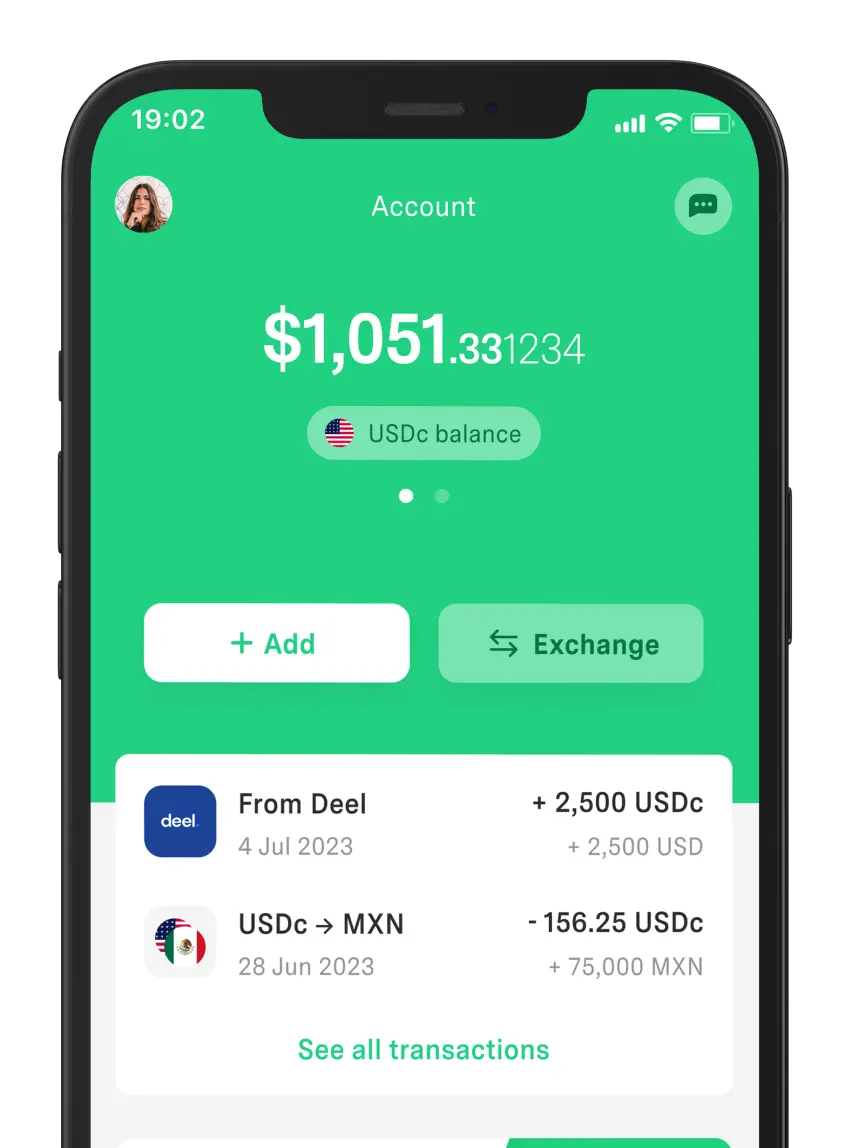
Miro only accepts payments in US dollars, so using alternatives like DolarApp can be helpful—whether with their virtual card or via transfer.
Don’t have DolarApp on your device yet?
Download it now and activate a USDc account to manage digital dollars. It’s also great for receiving payments from international clients.
What are you waiting for?

The world has borders. Your finances don’t have to.
 Freelancer tips
 A VPN encrypts your data to strengthen your privacy on the internet. Discover how it works, what it’s for, and why you should use one.

 Freelancer tips
 The BCG Matrix can give you a sense of where to invest, what to keep, what to optimize, and what’s worth retiring or rethinking. Discover what it is and when to use it.

 Freelancer tips
 Did you know you can include some expenses in your tax return as a freelancer? Find out everything a freelancer in Mexico can deduct.


